Sunday, October 30, 2011

We have a little bit of a challenge at our house...our play area! I really should call it a "play area" since its really a formal dinning area. :) Evelyn's toys are the first thing you see when you walk in the door so I've tried to think of creative ways to blend in the space to the family room. I finally finished an embroidery project that I think might help...


You could totally make these into pillows! Speaking of pillows...


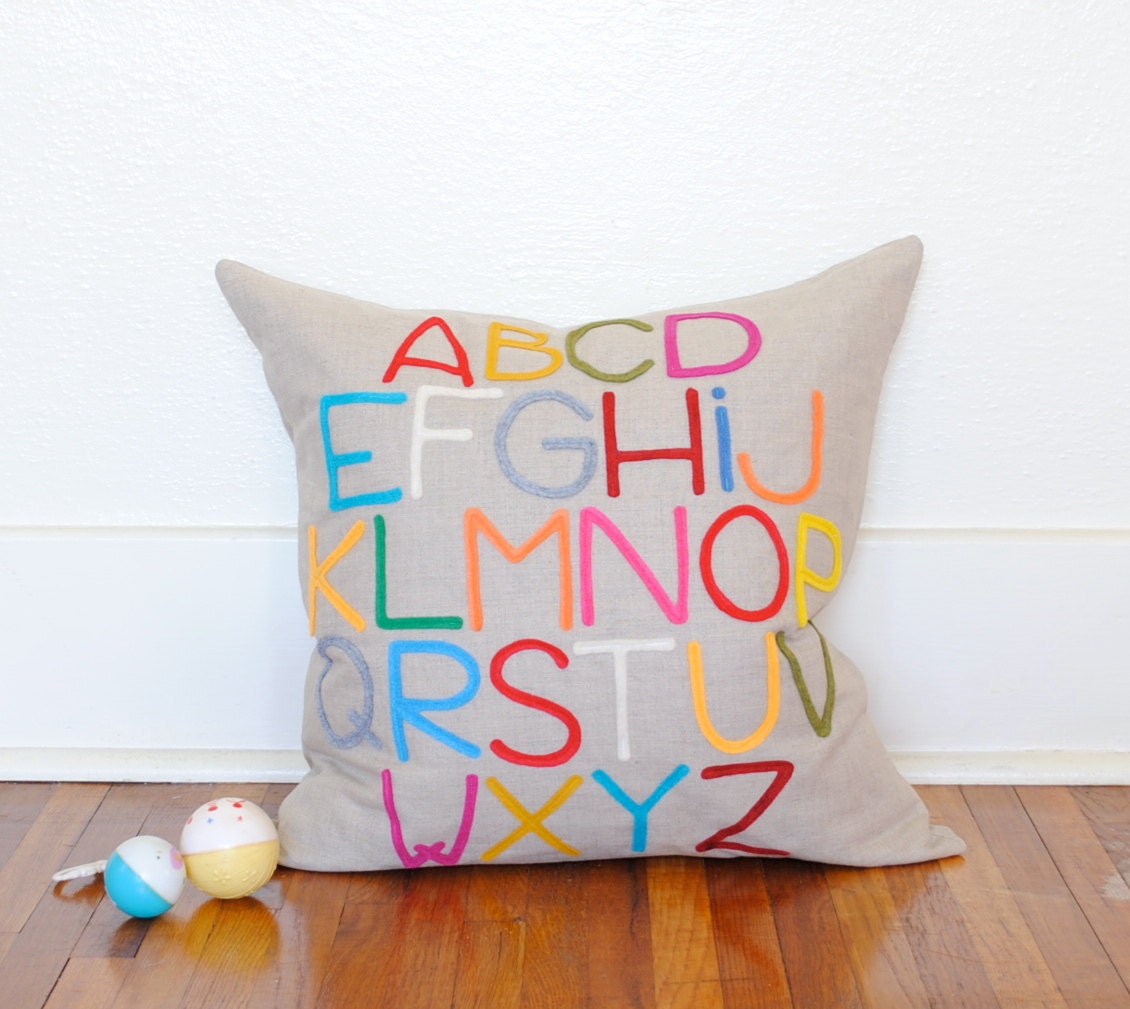
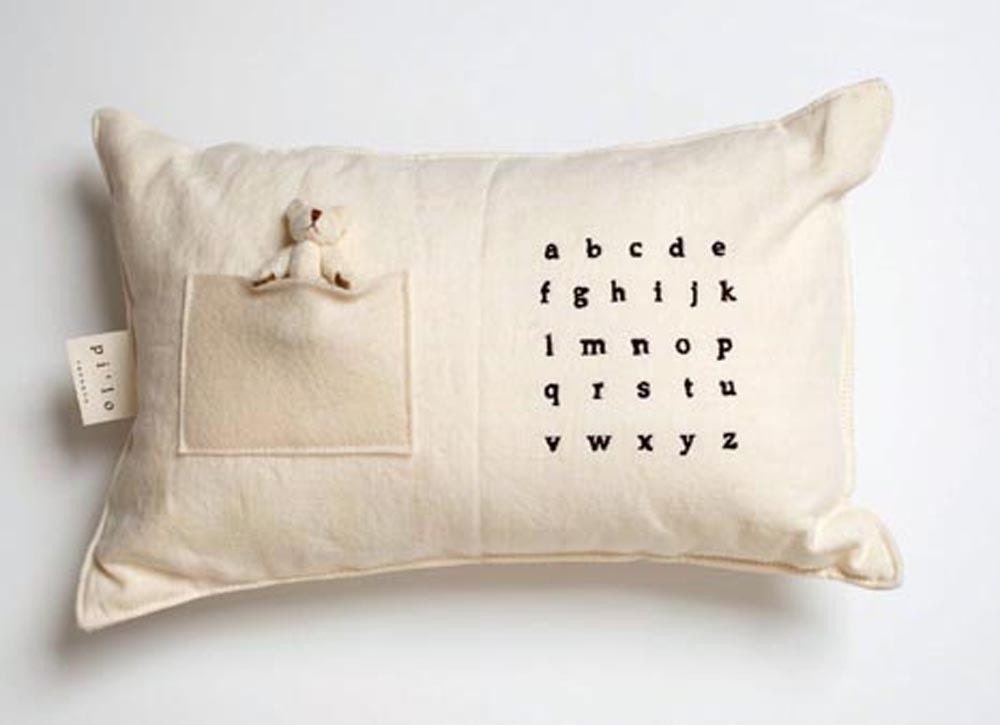
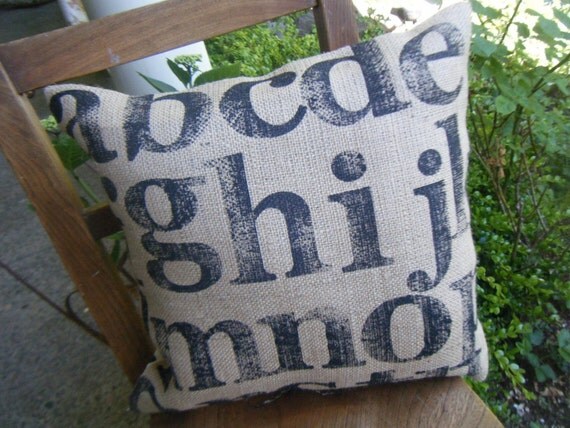
Here are a few alphabet pillows I am swooning over! I think this may be my next project!


Modern Abc Alphabet Pillow - Linen and Felt - by Pillow Factory
Pillow Factory

abc bear pillow
Pilo


Burlap and Drop Cloth Cotton Alphabet Sampler Pillow
Romana Owen Designs

P7293803
Wren Handmade

PB Kids

PB Teen


Friday, October 28, 2011

Peter Rabbit & The Pumpkin Patch


As of late, my sweet little 2 year old daughter has been obsessed with the book "Peter Rabbit." She carries her copy everywhere. At night when she goes to sleep, she asks for her Peter Rabbit book. If she can't find it at any point during the day she asks (very dramatically I might add) "Oh no! Where is Peter Rabbit!?" So it was no surprise that Peter Rabbit came along with us to the Pumpkin Patch yesterday...
 At some points, he was left on the ground but don't worry...when we got home, I Cloroxed him thoroughly.


Its rather sweet really... I hope she never grows tired of Peter Rabbit.

:)

Sunday, October 23, 2011

Chevron Zippered Pouch


A little while ago it was my sweet friend's birthday. We lived right across the street from each other in Vegas. Since we've moved, it really feels like a piece of me is missing! But I'm so glad she is one of those girl friends that I can just catch up on the phone with months later and it feels like we've picked up right where we left off.  :) I wanted to send her a little something for her birthday and here's what I came up with:


 I'm a little obsessed with zippered pouches as of late and I've decided to make myself one to put my embroidery materials in, instead of the plastic ziplock I've been using. ;)


When I saw the blue chevron print in my fabric drawer, I just knew I had to use it to make this pouch because it totally reminds me of her style. I embroidered the her initials and added a little rosette for a more feminine touch. :)

 I think I shall make more of these...


Saturday, October 22, 2011

Halloween Chalkboard Wreath Tutorial


I am so excited to share my chalkboard wreath tutorial with you today! If you get bored easily, like I do, this Halloween wreath is a great way to switch things up during the month!
 So without further ado.. :)
Lets get started!

 
Step 1: Trace your foam wreath onto the cardboard

Step2: Cut out your circle

Step 3: Paint your cardboard circle with Chalkboard paint

Step 4: Let dry for about 4 hours and paint your second coat

While your waiting for second coat of chalkboard paint to dry...


Step 5: Cut strips of fabric out to wrap around your foam wreath- mine were around 3 inches wide

Step 6: Hot glue your first strip of fabric to the back of your foam wreath

Step 7: Wrap your strip around the wreath

Step 8: Continue to wrap your strips of fabric until the entire wreath is covered


Step 9: Embellish your wreath 

with jute rope by hot gluing and tightly wrapping it around your wreath

You can also embellish your wreath with fun felt or fabric flowers. Here's how:


1. Cut a circle out of felt
2. Take a fabric strip that is 1 1/2 inches wide and around 12 inches long and add a line of hot glue along one long side
3. Fold the strip in half and press down
4. Once the strip has dried, cut slits down the side
5. Glue onto your felt circle
6. Keep gluing and coiling your strip around the circle until you get to the center and glue your last bit of strip down in the middle


Once you've glued all of your embellishments glued on, its time to assemble your wreath!


Step 10: Set your card board circle right side down on the back of your wreath and poke two small holes into it that also penetrate your foam wreath (I painted the back of my cardboard circle black, so you could see better)

Step 11: Cut a piece of flower wire and feed it through the the holes and into the wreath

Step 12: Twist, to tie off the excess flower wire

Step 13: Continue the process all the way around the wreath

Now you can doodle to your heart's content!

The possibilities are endless when you have an erasable canvas! :) Did I mention how much I looooove chalkboard paint?! ;)


Linking Up:


Wednesday, October 19, 2011

Alfred


My dad sent me a text a few days ago and told me he wanted to: "make Evelyn a sock monkey." I've always wanted to make her a sock monkey and was very excited at the prospect of learning how to make my first one. A couple days later the statement changed into: "I want YOU to make ME a sock monkey." He then went on to tell me a story about how he never had a sock monkey as a child and he really needed one to sit on his desk at work and if there was anyone who could help him do it, it was me. He then preceded to tell me we needed to go to the craft store now so we could get the materials. I had to reflect for a moment and realize that I inherited my dad's "I have a project in my head and I need to carry it out now!" syndrome.


So... we acquired all the necessary materials to make a really cool sock monkey and I came up with this guy:


 I call him Alfred because he just looks so sophisticated and naturally I associate sophistication with the name Alfred...

 I love Alfred's little bow tie, it makes me smile... :)


I found THIS tutorial from Web Goddess very helpful.

I think the most exciting part was seeing the little boy smile on that grown man's face. :)

Friday, October 14, 2011

Downeast Maine Pumpkin Bread


Hello lovelies! I love when I can just smell fall in the air! Of course, all this fall air is making me think of pumpkins and when I think of pumpkins I crave a pumpkin snack...


The perfect pumpkin snack = Pumpkin Bread

Thank you Miss Laurie Bennett from allrecipes.com! Your pumpkin bread is fantastic!

I thought it was so yummy, I'm passing it along to you:

Downeast Maine Pumpkin Bread

By: Laurie Bennett 
 
"This is a great old Maine recipe, moist and spicy. The bread actually tastes even better the day after it is baked. Great for holiday gift giving!"

Ingredients

  • 1 (15 ounce) can pumpkin puree
  • 4 eggs
  • 1 cup vegetable oil
  • 2/3 cup water
  • 3 cups white sugar
  • 3 1/2 cups all-purpose flour
  • 2 teaspoons baking soda
  • 1 1/2 teaspoons salt
  • 1 teaspoon ground cinnamon
  • 1 teaspoon ground nutmeg
  • 1/2 teaspoon ground cloves
  • 1/4 teaspoon ground ginger

Directions

  1. Preheat oven to 350 degrees F (175 degrees C). Grease and flour three 7x3 inch loaf pans.
  2. In a large bowl, mix together pumpkin puree, eggs, oil, water and sugar until well blended. In a separate bowl, whisk together the flour, baking soda, salt, cinnamon, nutmeg, cloves and ginger. Stir the dry ingredients into the pumpkin mixture until just blended. Pour into the prepared pans.
  3. Bake for about 50 minutes in the preheated oven. Loaves are done when toothpick inserted in center comes out clean.
I'm pretty sure it won't last long at your house...
What comes to mind when you think of fall?

Wednesday, October 12, 2011

Favorite Halloween Inspiration


I am getting so inspired by these fabulous Halloween projects all over blogland and Pinterest! I wish I had the time to make them all! In the meantime...I will keep pinning and sharing all of these lovely Halloweenish ideas:


Related Posts Plugin for WordPress, Blogger...